
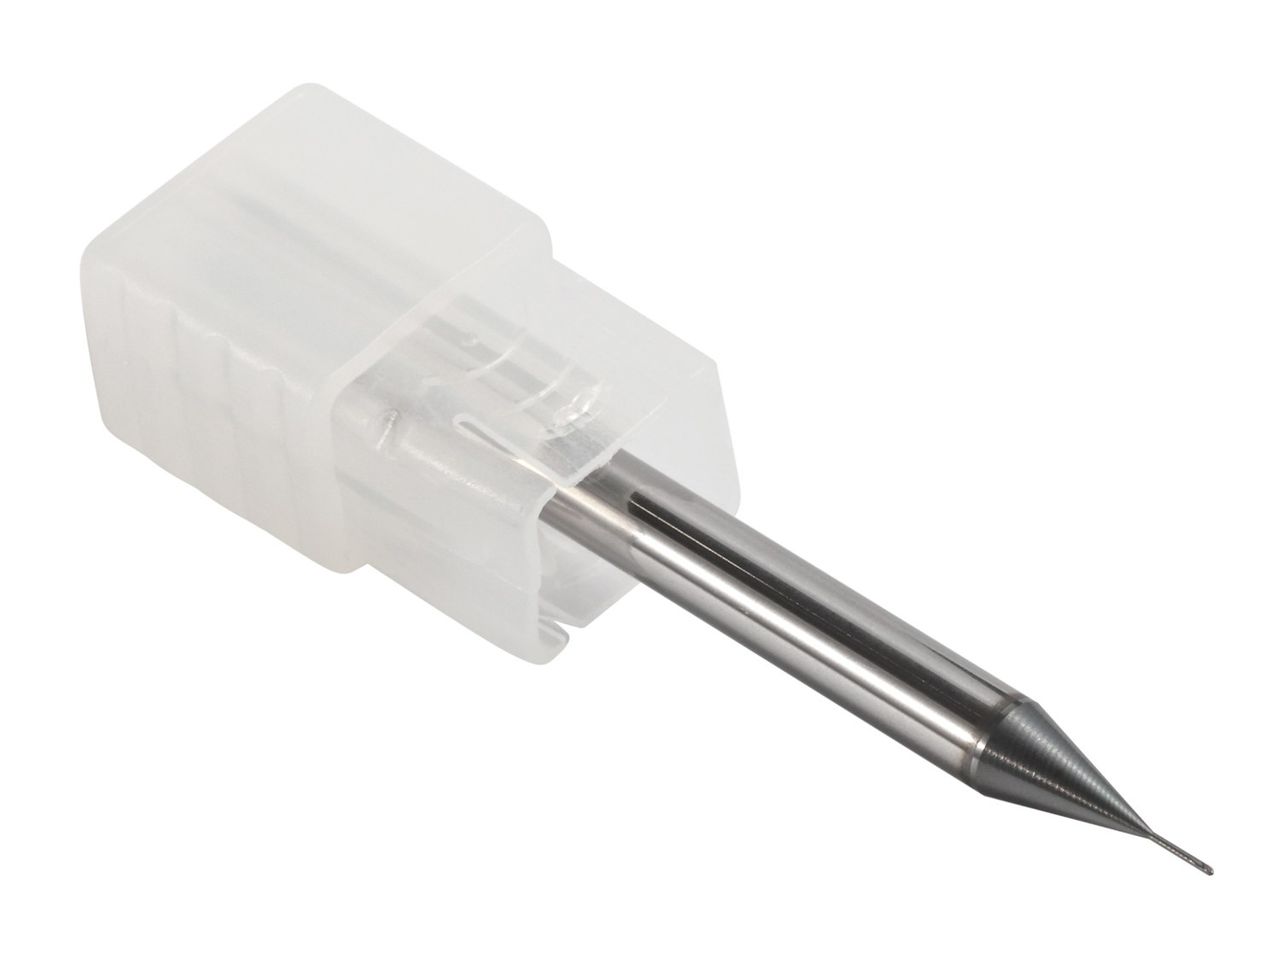
A carbide micro drill is strong for its size, but its cross-section is tiny. When the combined load — cutting torque, feed thrust, friction against the hole wall and the effort of pushing chips out — exceeds what that cross-section can carry, it breaks without warning. Most broken micro drills are not caused by a bad drill or by one wrong number in the program. They come from a handful of conditions around the cut, and those are worth checking first.
Read the break before changing anything
Where the drill broke says a lot:
- Broken at or near the point — the cutting edges were overloaded: too much feed, a hard spot, or an unstable start.
- Broken higher up the flutes — chips packed in the flutes and locked the drill.
- Broken at the shank or just below the holder — vibration, poor clamping, or too much unsupported length.
- Breaking at the same depth every time — look at the hole and the chips at that depth, not at the drill.
1. Runout
On a micro drill, even a small runout means one cutting edge takes most of the load, and the drill bends with every revolution. Check the runout of the whole assembly — spindle, holder and drill — at the drill, not just the holder. A clean, accurate holder matters more for micro drilling than for almost any other operation. Clamp on the shank only, never over the flutes.
2. Chips
A micro drill has very little room in its flutes. Once chips stop flowing out, they pack, torque climbs and the drill twists off — usually deeper in the hole. Watch for long or stringy chips, and for trouble that appears only in the last part of the hole. The drilling cycle (one pass or pecks, and how deep each peck goes) is what controls this. It depends on the material, the depth and whether coolant reaches the point, so it should be agreed for the job rather than copied from another one. Where coolant through the tool is possible, it helps chips leave the hole; our 4 mm shank coolant series starts at Φ2.00 mm, and smaller through-coolant drills are reviewed as custom tools.
3. The entry
The first contact is the most fragile moment. If the surface is inclined, curved, rough or interrupted, the point can walk sideways and the drill bends before it is guided by its own hole. A flat, clean entry surface helps; for difficult entries a short, rigid starter hole is common practice. Whether to spot or pre-drill, and with what, depends on the drill design — a spot that does not match the drill point can chip the corners instead of protecting them.
4. Reach and rigidity
Every extra millimetre of length makes a micro drill more flexible. Use the shortest drill and the shortest holder the part allows, and choose the flute length for the hole depth rather than the longest available. Our 3 mm shank micro drills start at Φ0.10 mm, where the Φ0.10–Φ0.29 band has a 1 mm flute length — the flute length grows with diameter, so check it in the size tables for your hole.
5. Material and geometry
The same diameter cuts very differently in aluminium and in steel. Our micro drills are supplied in separate aluminium and steel geometries, so tell us the actual material grade rather than just “steel” or “aluminium”.
6. Then adjust the cutting data
Only once the setup is right is it worth tuning speed and feed. Change one thing at a time, start conservatively and raise in steps while watching the chips and the hole. Changing several things at once hides which one fixed — or caused — the problem.
Inspection matters on our side too
At these sizes, an edge defect too small to see by eye is enough to break a drill. Micro drill points are checked under magnification during inspection — see how micro drills are inspected.
What to send
For a micro drilling problem, send the hole diameter and depth, blind or through, the material grade, your machine and holder, whether coolant reaches the tool, and where the drill breaks. See the micro drilling guide, or request a quote.